Bing remains an important discovery channel in 2026, powering not only traditional search on Microsoft Edge but also voice- and AI‑assisted answers across services such as Microsoft Copilot and Cortana. While Google captures the largest share of searches, Bing still drives meaningful traffic, especially from Windows devices, AI‑enhanced experiences, and audiences who prefer alternatives to other engines. For businesses, ensuring your presence on Bing means being visible across diverse search environments where potential customers actively search for services.
Summary
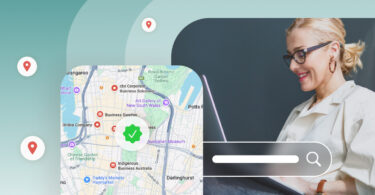
Creating and optimizing your business listing on Bing improves local search visibility, ensures accurate company information is available across multiple search touchpoints, and supports AI‑driven recommendations.
This guide walks you step‑by‑step through setting up your Bing business profile, optimizing key elements for better reach, and maintaining your listing to attract more customers in both traditional and AI‑powered search results.
Table of contents
What is Bing?
Launched in 2009, Bing is a web search engine owned and operated by Microsoft. Before Bing, Microsoft hosted several other search engines including MSN Search, Windows Live Search, and Live Search. Bing offers a variety of services, including web, video, image, and map search products.
Who uses Bing?
If your business is trying to reach a specific audience, it’s important to know where they’re searching. Bing gets over 1 billion monthly visits on average. According to the latest Microsoft Bing statistics, 73% of Bing users are under the age of 45, 44% are female, and 56% are male. That means a little over two-thirds of Bing users are millennials or younger, and slightly more than half are male.
In addition, 55% of Bing users said they use the search engine for product research, and 38% use Bing for brand discovery. If you’re not already listing your business on Bing, you could be missing out on some major opportunities.
Ahrefs reports that most Bing searches in the United States are navigational. That means the searches on the platform were made to look up specific websites. Facebook is the most popular navigational search, followed by YouTube, Google, and Amazon.
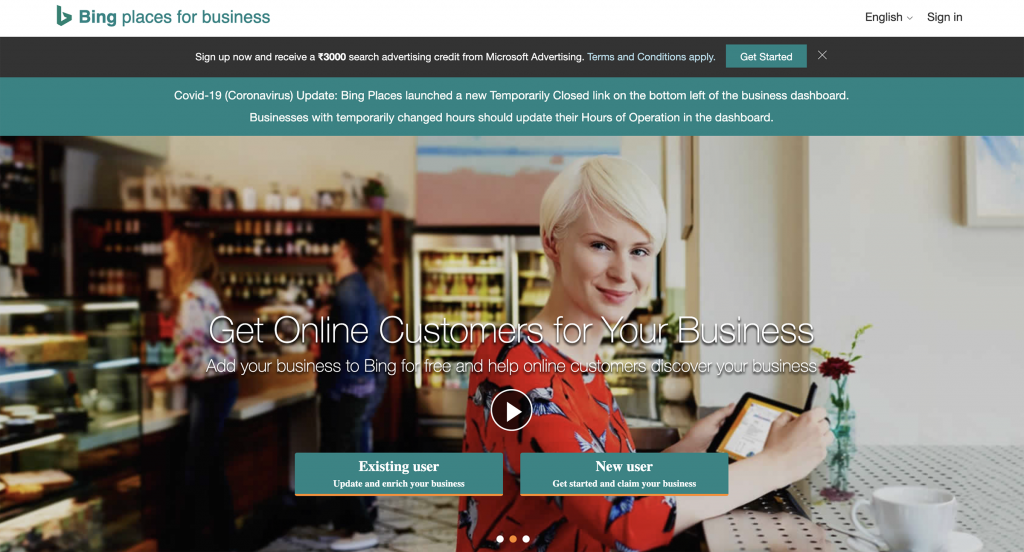
Bing Places for Business
Using Bing Places for Business, businesses can claim local listings or create new ones to manage how information appears on Bing. It’s a free service that can help customers find your business in Bing searches and maps.
Pro Tip: You can ensure the accuracy of your data across the web by engaging in effective business listing management. Birdeye Search AI complements this by monitoring your listings across AI platforms, analyzing sentiment, and recommending fixes to ensure your business is correctly represented in both Bing and AI-driven search results.
What are the benefits of using Bing Places for Business
Even though Google often overshadows Bing, business owners shouldn’t discount the search engine. Here are six reasons why you should list your business on Bing:
- Free marketing: Listing your business on Bing costs nothing and can help you attract a new audience online.
- Be found online: Like Google My Business, Bing Places for Business will help people find you online through local searches so that you can generate more in-person traffic and sales.
- Exposure to a new audience: By being visible on Bing, you’re exposing your business to a different audience.
- Advertising mix to increase exposure: You can also combine local search with Bing Ads to increase your business’ exposure.
- Appear in organic searches: Even if you don’t advertise on Bing, you’ll show up in organic search results.
- Listing performance insights: Within your Bing Places for Business dashboard you can measure how many times your listing appears in Bing search results and how it’s performing compared to similar businesses in your zip code(s).
How to get started with Bing Places for Business
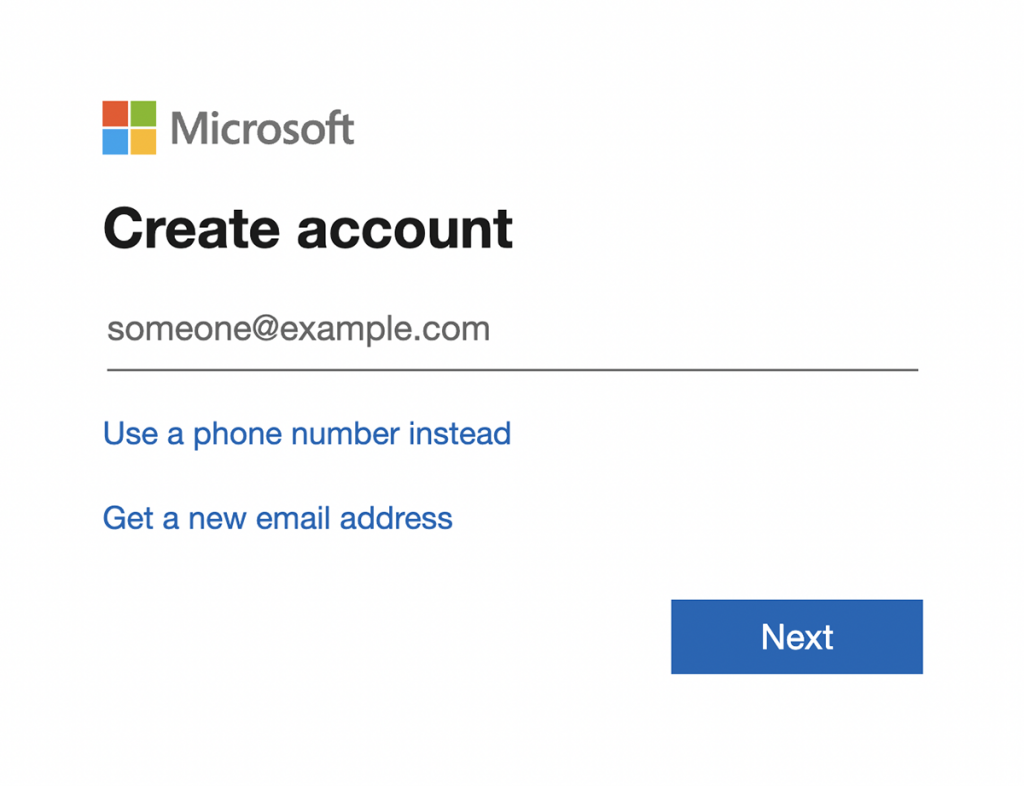
You can add and manage your business listing at bingplaces.com. Start by signing in to your Microsoft account.
Start by signing in to your Microsoft account. If you don’t already have a Microsoft account, you’ll need to create one to get started.
How to tell if your Bing listing has already been claimed
Once you’re logged in, scroll to the bottom of the page and click the link that says “Change your business listing.” If your business listing has already been claimed on Bing, you’ll see “This listing has already been claimed” next to your business name.
If your business listing has not been claimed, follow these steps:
Step 1: Claim your business listing on Bing
It’s likely Bing already has a listing for your business. If that’s the case, claim your listing or add a new one. If your business has multiple locations, you can add them in one go using the bulk upload tool.
You can also choose to import listings from your Google My Business account (also known as your Google Business Profile) or you can claim or add your business manually.
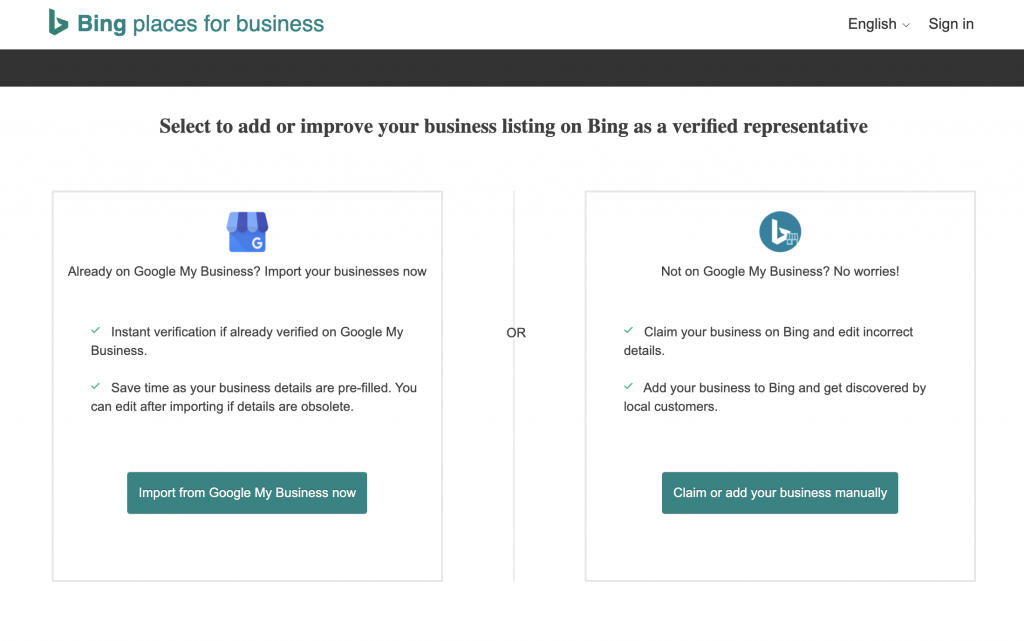
Import business listings from your Google My Business Account
If your business is already verified on Google My Business, Bing Places can pull that data to create or update your Bing Places listing. Keep in mind that Bing Places for Business will need access to your Google account to complete this step. With your permission, Bing can now read and import your business details from your Google My Business account.
Claim or add your business manually
If you decide to claim or add your business manually, select your business type from the drop-down.

Step 2: Complete your listing profile on Bing
Next, you’ll be asked to add complete and up-to-date information about your business. You can add your hours of operation, services offered, and the ways customers can contact your business. You can also add photos, and videos, and create special offers to attract customers.
Completing a profile is only the first step. Businesses must also ensure that information remains accurate and consistent across search engines, directories, and location platforms. Birdeye Listings AI helps businesses identify missing information, inconsistent data, and opportunities to optimize profiles, making it easier to maintain accurate listings and maximize visibility across Bing, Google, and other major directories.
Step 3: Verify your business listing on Bing
Once you’ve completed your listing profile, you’ll have to verify your listing on Bing. You can choose to receive a PIN via mail at your business address, by phone, or by email. All businesses must provide a valid address, but some types of businesses, like service area businesses, can hide their address in search results.
What to do if you have multiple locations on Bing
If you’re a chain business (e.g., a retail or fast food chain) or have multiple locations (e.g., hotel groups or real estate groups), you can register your business with Bing Places as a chain business and add all of your locations in bulk.
First, you’ll be asked to enter your business details, including your business name, website, number of locations, contact information, and chain headquarters address.
Once your business is verified, you can add up to 10,000 locations in a spreadsheet and upload it using Bing’s bulk tool. After you’ve successfully uploaded the bulk file, your listings will be ready to appear in Bing searches and Bing maps. You can track how many times your listings appear in Bing search results and how they perform against your competitors within your Bing business dashboard.
If you want to make changes to an individual listing, you can edit it right in your Bing Places dashboard. However, if you’re going to make changes to multiple listings, Bing recommends using their bulk tool to download your listings, make your changes, and upload them again.
Monitor your listings
Consider this last step more of a best practice. Whether you have one location or many, don’t forget to keep your business information up-to-date and monitor your listings regularly to make sure they’re accurate and optimized for maximum visibility.
Imagine opening a new store without an address or changing your hours without letting your customers know. Incorrect, inconsistent, or outdated listings can create missed opportunities – and they’re just not a good look for your business. Broken listings lower your ranking and can drive potential customers towards your competitors.
For businesses managing multiple locations, manually monitoring listings can be time-consuming and error-prone. Birdeye Listing Optimization Agent continuously monitors business listings, identifies inaccuracies, detects incomplete profiles, and recommends improvements to strengthen local search visibility.
By proactively surfacing optimization opportunities across Bing, Google, and other major directories, the agent helps businesses maintain consistent and accurate location data, improve discoverability, and ensure customers always find the right information wherever they search.

By following these simple steps, you can make sure your business is listed on Bing and reach a whole new audience of potential customers.
Simplify Bing listing management with AI
Creating a Bing Places profile is an important step toward improving online visibility, but maintaining accurate and optimized listings over time requires ongoing attention.
As businesses expand across locations and directories, keeping information consistent and monitoring performance can quickly become a challenge.
Birdeye Listings AI streamlines listing management through a simple three-step approach:
- Consolidate: Centralize business information, listings data, customer feedback, and location signals from Bing, Google, and other major directories into a single source of truth.
- Think: Analyze listing accuracy, competitor visibility, profile completeness, and local search performance to uncover optimization opportunities.
- Act: Use AI-powered recommendations and automation to fix inconsistencies, update profiles, enhance listing content, and improve local search visibility across locations.
Book a free demo to see how Birdeye enables brands to manage listings more efficiently and strengthen their visibility across search and AI-powered discovery platforms.
About the Author
Sudeepta Bora
Originally published

![[Feature image] X Business directory UK you must be listed on](https://birdeye.com/blog/wp-content/uploads/Feature-image-X-Business-directory-UK-you-must-be-listed-on-375x195.jpg)


![[Feature image] The Best Marketing Platforms for Multi-Location Brands](https://birdeye.com/blog/wp-content/uploads/Feature-image-The-Best-Marketing-Platforms-for-Multi-Location-Brands-375x195.png)